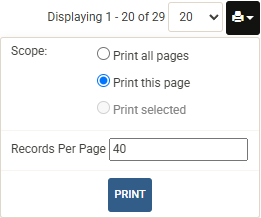
Getting Started From the top menu, click on MAIN to see the dropdown, and then WIMS DATA. You should see a screen with an "Add New" button (this image shows one accessed via Projects). Press the Add New button on the List screen, which takes you to a new record in Edit mode, and then scroll to the bottom of the screen: 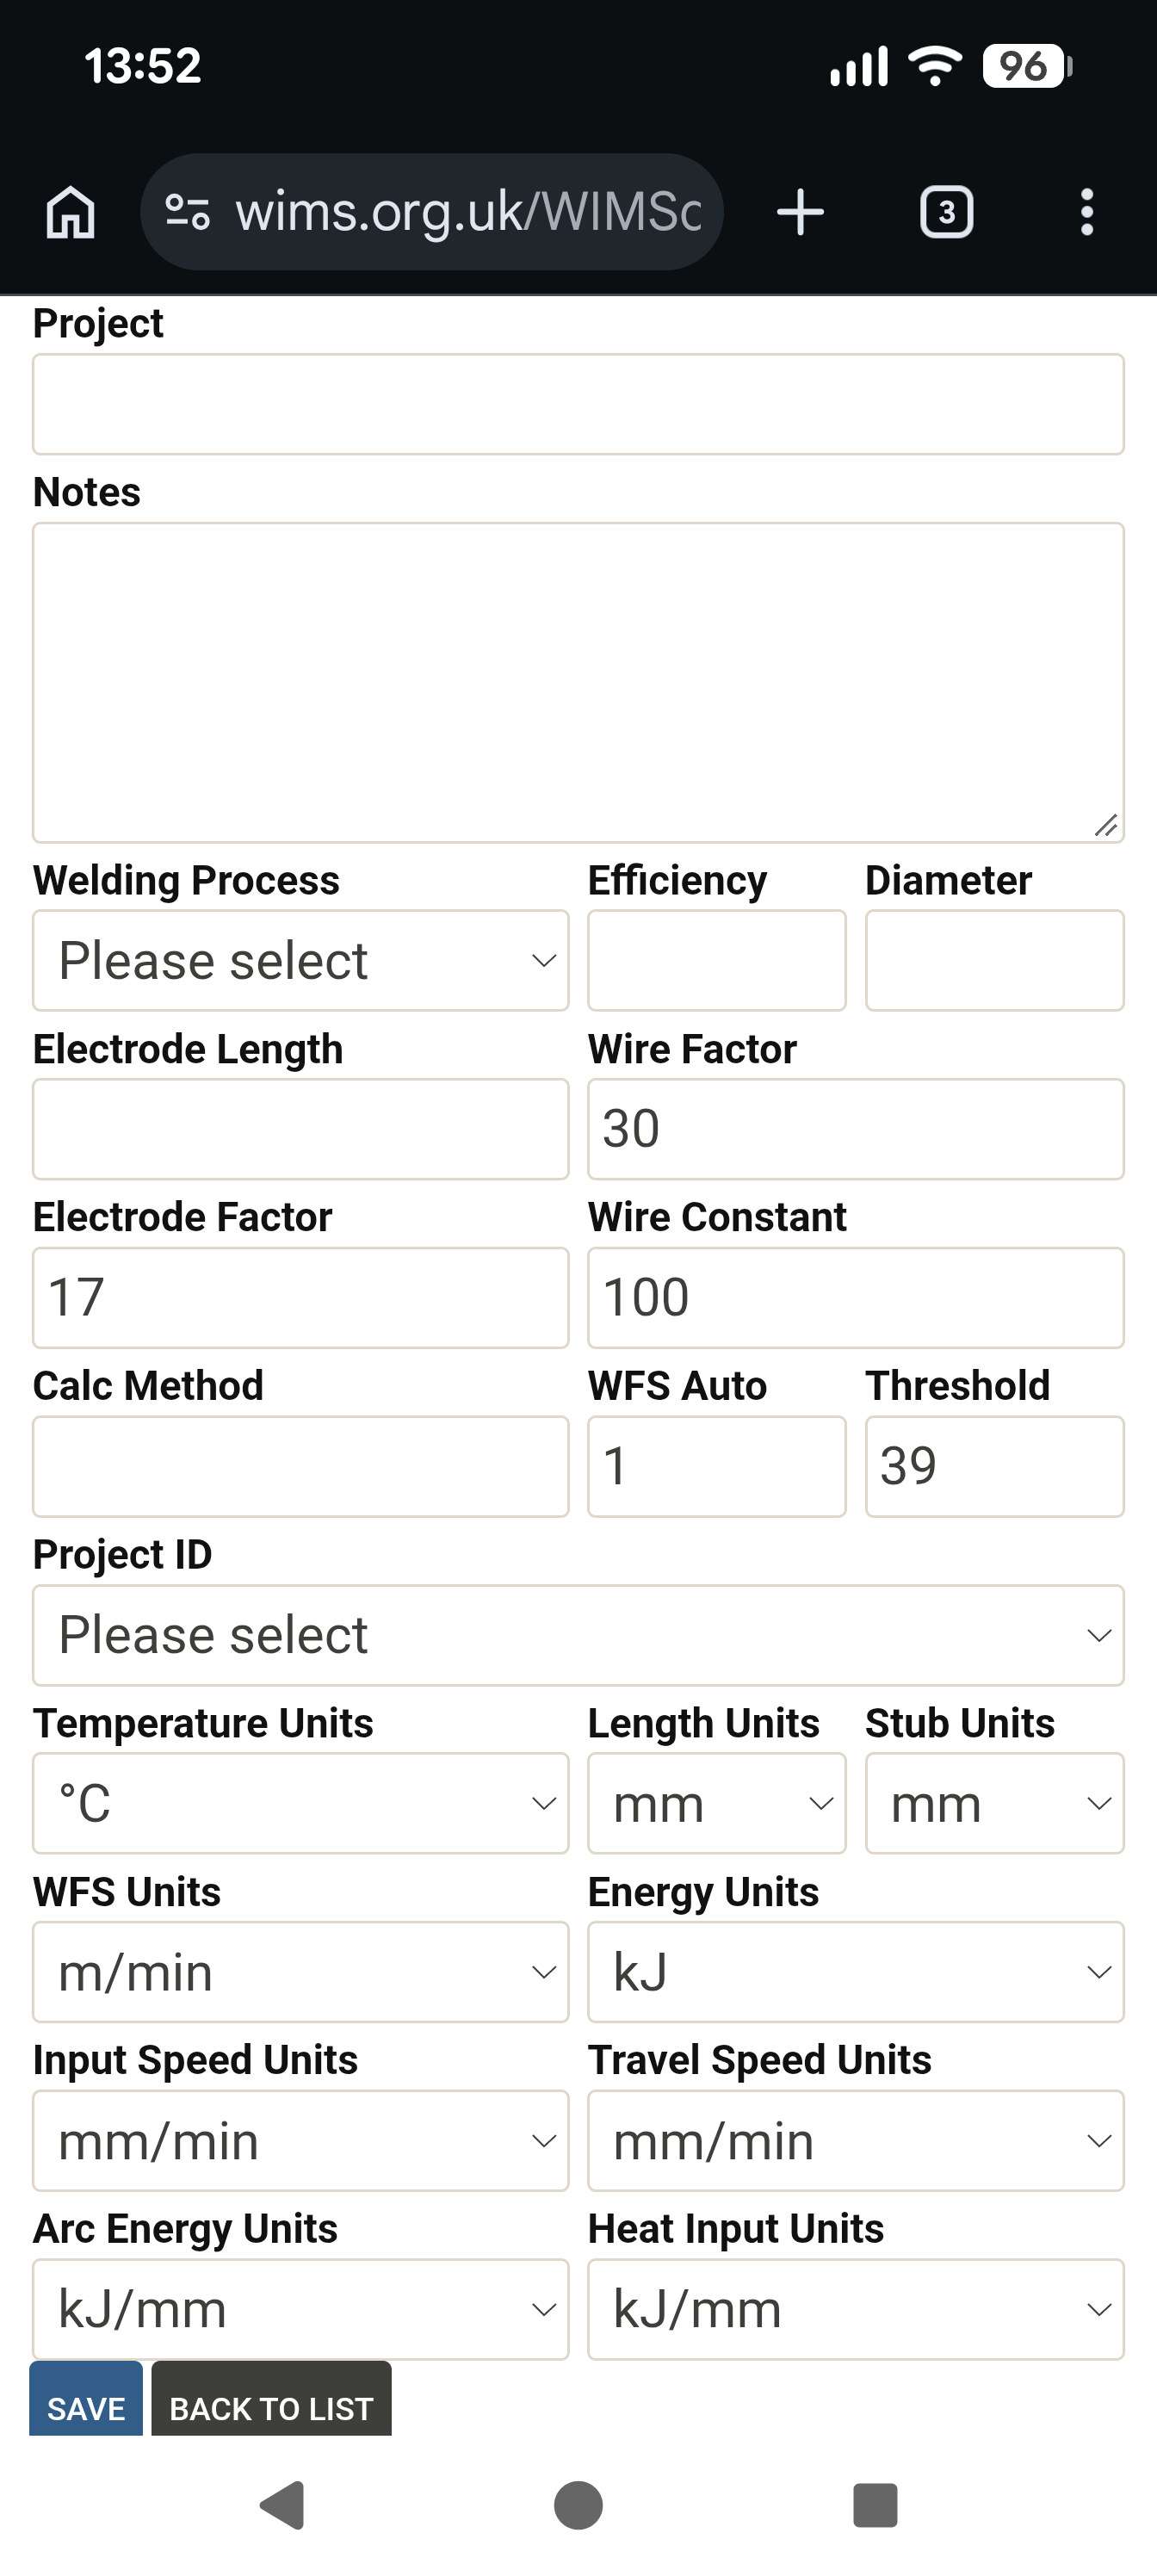
The "Threshold" value is used when the "WFS Auto" field is set to 1. It's not unusual for fabricators to use a range of wire feeders / welding sets, and therefore no guarantee that they will use the same wire feed speed settings. When this function is enabled the user can convert the WFS at the time of entry when the WFS field loses focus. So for example, if the WFS units were set to "m/min" and the user entered 400 and moved away from the field, this will be converted to 10.16 m/min as it is greater than the "Threshold" of 39. Similarly if the default units are in "in/min" and the user inputs 9, moving the focus away from the field converts this to 354.3 because it was less than 39. If you don't want to use this feature, set "WFS Auto" to 0.
Check that all the Units are the formats you wish to use, or change them to your preference using the dropdowns. Then scroll back up to the main data section, noting that there is some information already prefilled to allow shortcut methods to be used. 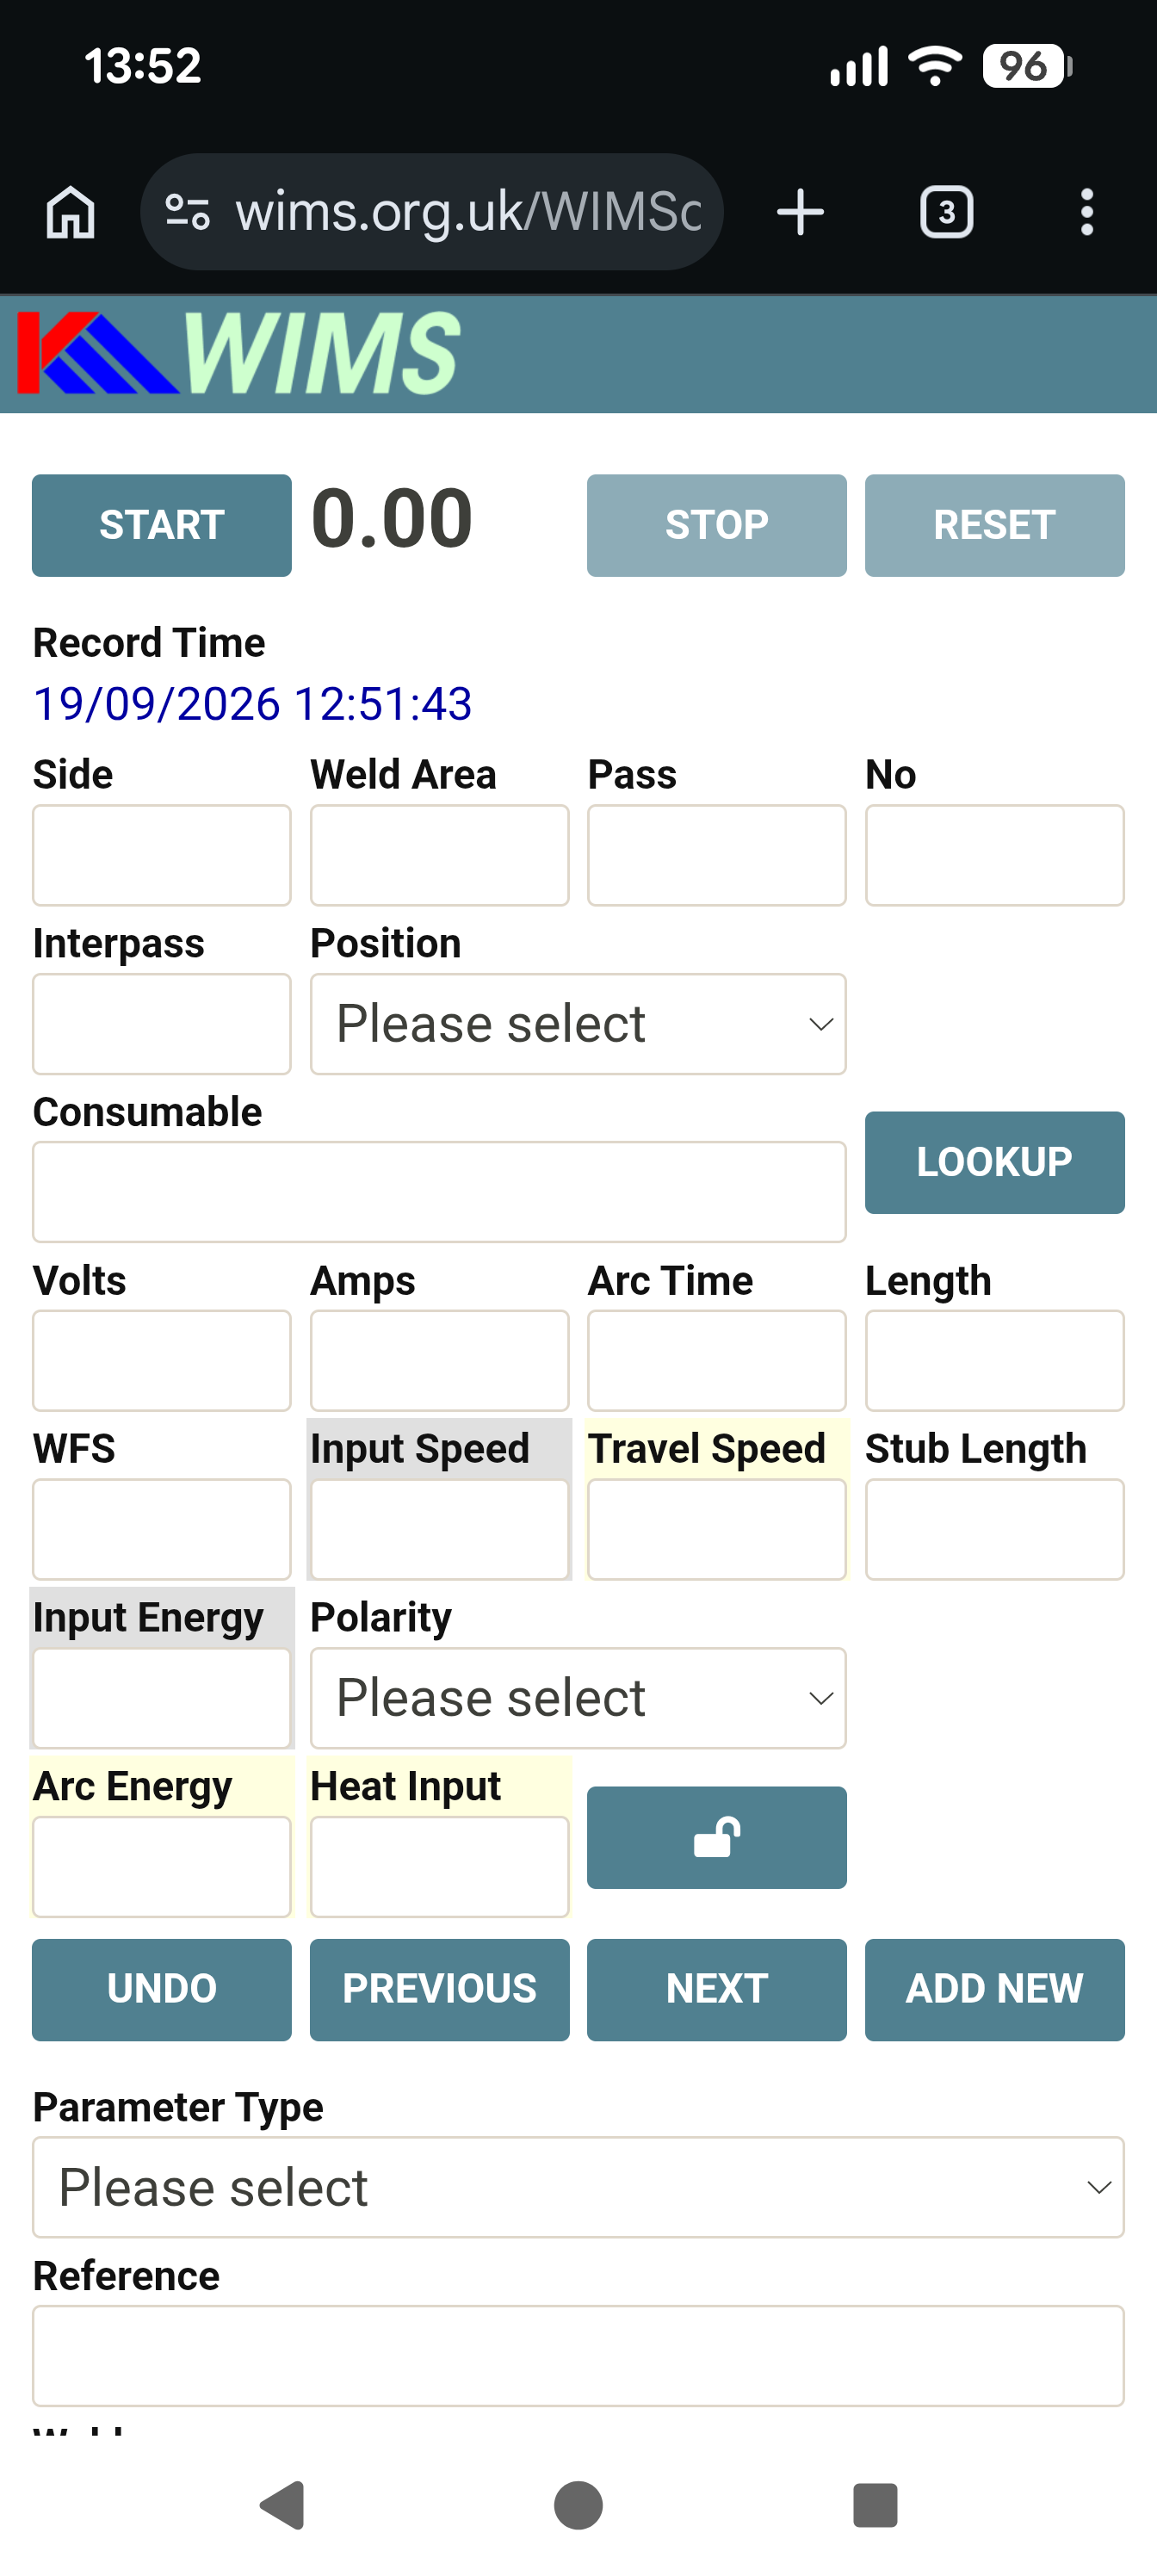 . .
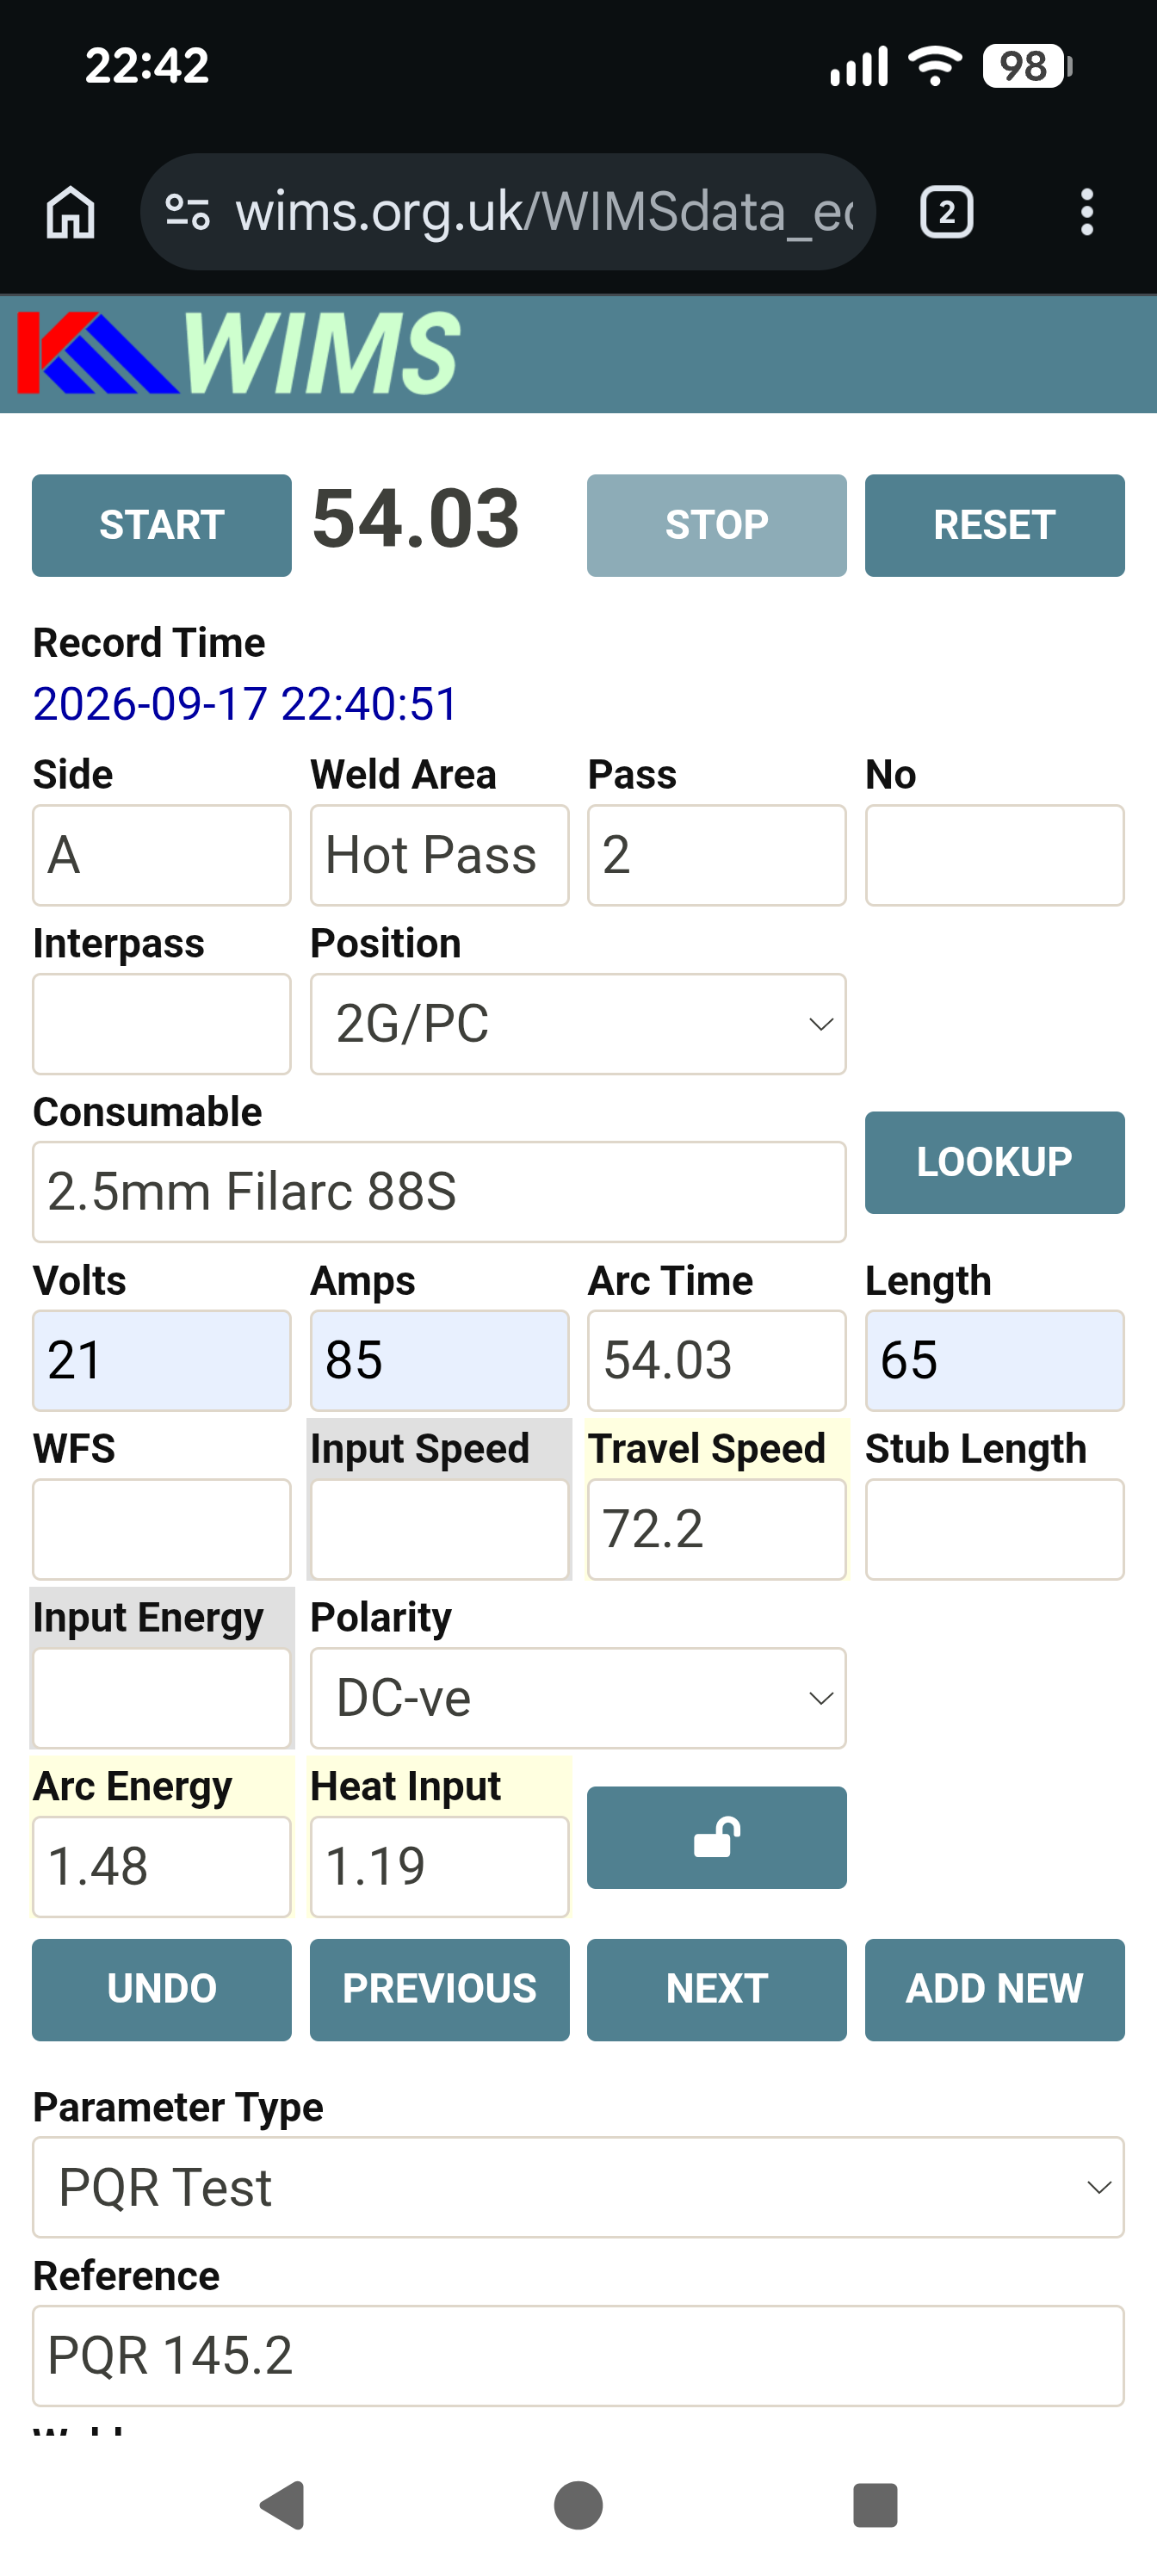
You might want to start the stopwatch running at this point using the Start button, noticing that this also changes the Record Time. Now fill in any data on the screen and stop the stopwatch at some point. If you have input sufficient data, Arc Energy and Heat Input will be calculated, along with the Calculation Type. You may also see a calculated Travel Speed unless you're using a ROL vs Stub Length estimate. If you see an Arc Energy but no Heat Input, it's means the Efficiency field is blank. Typically this is set to 0.6 for GTAW or PAW, 1.0 for SAW, or 0.8 otherwise. If you used the "Lookup" button to select a predefined consumable, you may notice that some of the factors in the lower portion of the screen changed, or were deleted if not applicable. This will also have set the Efficiency field correctly for the process. To save the record, press one of the following buttons: PREVIOUS , NEXT , or ADD NEW As this is the first record, either of the first two buttons will display an alert, telling you that you're already at one end of the records. If the calculation is complete, you'll notice that the button with a padlock on it  has changed to dark red has changed to dark red  , indicating that this record is now locked. This means that any changes to the record will not be permanent until you unlock it by pressing the button. This allows you to play with a parameter record without fear of changing it, eg. to quickly see what an Arc Energy looks like in J/in instead of kJ/mm. , indicating that this record is now locked. This means that any changes to the record will not be permanent until you unlock it by pressing the button. This allows you to play with a parameter record without fear of changing it, eg. to quickly see what an Arc Energy looks like in J/in instead of kJ/mm.
When you use the ADD NEW button, you'll notice that some of the data gets carried across from the last record, and also that any Pass field or No field gets incremented as follows: - If the No field contains data it is incremented by 1
- Otherwise, if the Pass field contains data and the No field doesn't, then the Pass field is incremented by 1
|
 icon from the List page, or select the
  icon at the bottom right of the Edit page, you can view the records and step through them using the left and right navigation buttons.
 icon, to move to an example record.